
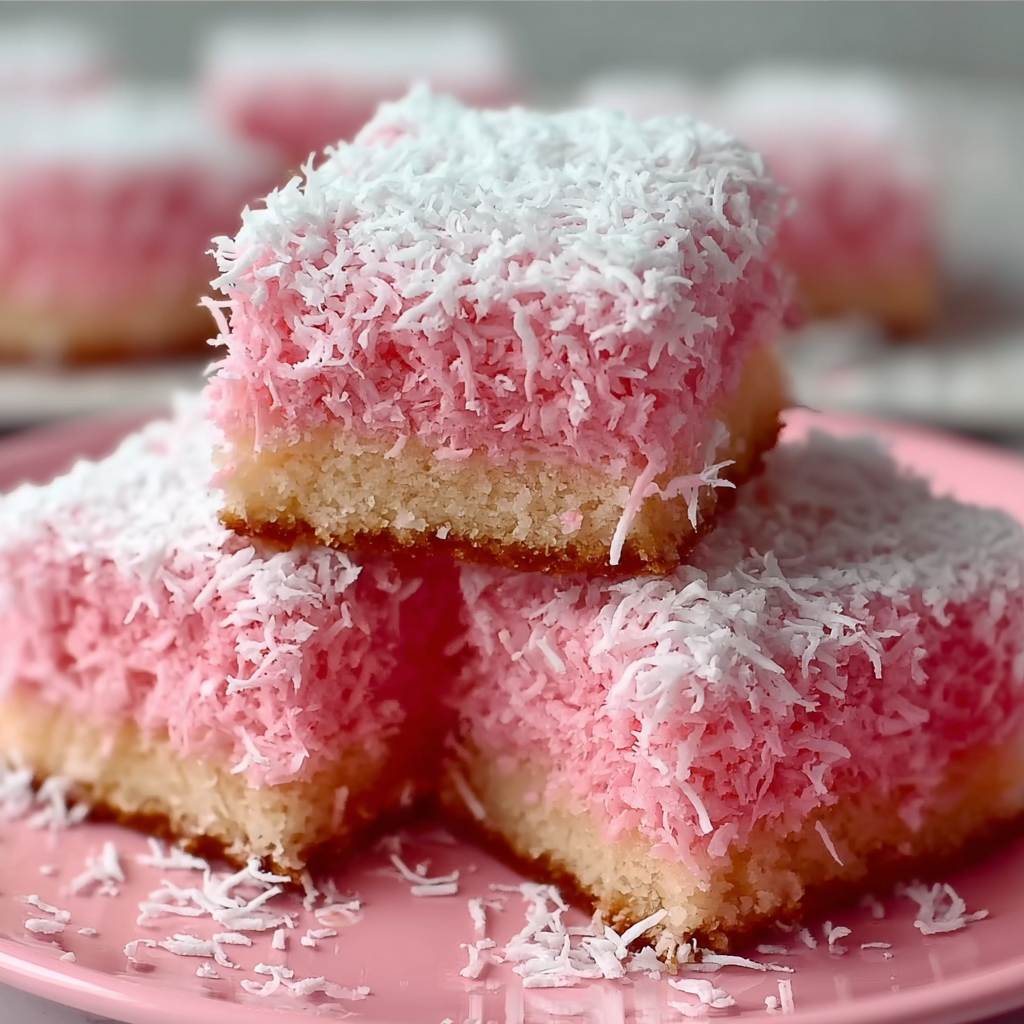
Pink Coconut Snowball Cake Bars

Chocolate cake bars topped with a fluffy pink coconut snow that’s festive, easy to make, and perfect for sharing.

This recipe started as a playful experiment the first time I wanted a dessert that felt like a celebratory cookie and a chocolate bar at the same time. I discovered this combination one weekend when I had a boxed chocolate cake craving and a jar of shredded coconut in the pantry. The result surprised me: a tender, slightly fudgy chocolate base with a sweet, snowy coconut topping that spread like frosting and held a pale pink tint when I added a few drops of food coloring. It became an instant favorite at family gatherings — kids loved the color, adults loved the nostalgic texture, and everyone asked for the recipe.
I make these bars year-round but they shine at spring parties and baby showers because the soft pink snow looks so cheerful against the dark chocolate. The texture contrast — moist cake underneath and slightly chewy, sugary coconut on top — is what I keep coming back to. It’s approachable for new bakers, forgiving in terms of technique, and easy to dress up with sprinkles or a drizzle of melted chocolate when the occasion calls for it.
Why You'll Love This Recipe
- Quick assembly: you can mix the batter in one bowl and the topping in another, ready to bake in about 15 minutes and on the table in roughly 45 minutes total.
- Pantry-friendly ingredients: uses basic staples like flour, sugar, cocoa, eggs and shredded coconut so you rarely need a special grocery run.
- Make-ahead friendly: the bars store well in the refrigerator and travel nicely for potlucks or picnics.
- Customizable look: use pink food coloring for a festive finish or leave it white for classic coconut snowballs; add chocolate drizzle for extra richness.
- Kid-approved and crowd-pleasing: the soft cake with a sweet coconut top is familiar yet special, perfect for birthdays or casual dessert trays.
Personally, I remember bringing a tin of these bars to a neighbor’s baby shower and watching the whole room light up. The color was the conversation starter, but the taste is what got me a handful of recipe requests. Over time I adjusted the topping’s texture and found the right powdered sugar to coconut ratio so it spreads without sliding off once cooled.
Ingredients
- All-purpose flour: 1.5 cups. I use a spoon-and-level method for accuracy; King Arthur or Bob's Red Mill works well. Flour forms the tender crumb, so measure carefully to avoid a dry cake.
- Granulated sugar: 1 cup. Regular white sugar gives structure and balanced sweetness; you can reduce slightly if you prefer less sweet toppings.
- Unsweetened cocoa powder: 1/2 cup. I recommend Dutch-processed cocoa for deeper chocolate flavor, but natural cocoa is fine — adjust baking powder if you swap types.
- Baking powder: 1 teaspoon. Ensures a light lift in the crumb without making it cakey.
- Salt: 1/2 teaspoon. A small amount rounds out the chocolate flavors.
- Unsalted butter: 1/2 cup, melted. Butter gives richness and helps achieve a tender texture; cool slightly before mixing with eggs to avoid cooking them.
- Large eggs: 2. Provide structure and moisture — use room temperature eggs for better emulsion.
- Vanilla extract: 1 teaspoon. Adds warmth and depth to chocolate notes; pure vanilla extract is worth the small cost.
- Shredded coconut: 1 cup (for topping). Unsweetened shredded coconut gives chew and texture; if you choose sweetened shred, reduce powdered sugar slightly.
- Powdered sugar: 1/2 cup. Dissolves into the coconut to create a spreadable frosting-like topping.
- Milk or coconut milk: 1 to 2 tablespoons, as needed. Use coconut milk for extra coconut flavor or regular milk for a subtle finish; add slowly until topping is spreadable.
- Pink food coloring: Optional, a few drops for a soft pastel color — gel coloring requires less and gives a more controlled tint.
Instructions
Preheat and Prepare: Preheat the oven to 350°F (175°C). Lightly grease an 8x8 inch baking pan or line it with parchment paper with an overhang for easy removal. Preheating ensures even rise and consistent bake time; allow the oven to fully reach temperature before inserting the pan. Mix Dry Ingredients: In a medium bowl, whisk together 1.5 cups all-purpose flour, 1 cup granulated sugar, 1/2 cup unsweetened cocoa powder, 1 teaspoon baking powder, and 1/2 teaspoon salt until uniform and free of lumps. Sifting the cocoa helps prevent clumps that can leave pockets of dry powder. Combine Wet Ingredients: In a separate bowl, whisk 1/2 cup melted unsalted butter, 2 large eggs, and 1 teaspoon vanilla extract until smooth. Ensure the butter is warm but not hot — about 110°F maximum — so it blends without cooking the eggs. Bring Batter Together: Pour the wet mixture into the dry ingredients and stir gently until just combined. Avoid overmixing; stop when streaks of flour disappear to keep the crumb tender. The batter should be thick but spreadable. Bake: Spread batter evenly in the prepared pan using an offset spatula. Bake for 20 to 25 minutes, or until a toothpick inserted in the center comes out with a few moist crumbs. Rotate the pan halfway through baking for even color. Let the cake cool completely in the pan on a wire rack before topping to prevent the coconut from melting into the warm cake. Prepare Coconut Topping: In a small bowl, combine 1 cup shredded coconut and 1/2 cup powdered sugar. Add 1 to 2 tablespoons milk or coconut milk, stirring until the mixture reaches a spreadable but not runny consistency. If using food coloring, add a drop at a time to reach the desired pale pink hue. Taste and adjust sweetness if needed. Finish and Serve: Once the cake is completely cool, spread the coconut mixture evenly across the top using a spatula. Press gently so the coconut holds together. Chill briefly if you want firmer topping, then cut into 12 bars and serve. Store leftovers covered in the refrigerator.
You Must Know
- These bars freeze well for up to three months. Wrap individual pieces in plastic and store in an airtight container to protect the topping.
- High in energy: each bar is moderately dense with calories from butter and coconut, so portion control is helpful for sharing at events.
- Refrigerate leftovers to keep the coconut topping firm; bring to room temperature before serving for best flavor.
- Texture tip: if the coconut topping seems too loose, chill it for 15 minutes before spreading to firm it slightly.
My favorite aspect is the nostalgic texture the coconut brings — it reminds me of frosted cookie bars my grandmother used to make, but with a prettier presentation. Once, I swapped the pink for pale blue for a gender reveal and it was a hit; guests loved the fun color and familiar taste.
Storage Tips
Store bars in an airtight container in the refrigerator for up to five days. Use parchment between layers to prevent sticking. For longer storage, freeze the bars uncut on a tray until firm, then wrap individual portions tightly in plastic and place in a freezer-safe bag. Thaw overnight in the refrigerator and bring to room temperature for 30 minutes before serving to soften the crumb and mellow the chill on the topping. If topping separates during thawing, a light brush of milk and gentle pressing will help it rebind.
Ingredient Substitutions
For dairy-free: swap the butter for melted coconut oil and use coconut milk for topping; the coconut flavor will be more pronounced. For a lower-sugar version: reduce granulated sugar to 3/4 cup and use powdered sugar substitute for the topping, though texture will change slightly. To make gluten-free: use a 1:1 gluten-free baking blend and let the batter rest for 10 minutes before baking to hydrate the flours. For a richer chocolate, stir in 1/4 cup chocolate chips to the batter before baking.
Serving Suggestions
Serve slightly chilled for a firm bite or at room temperature for a softer mouthfeel. Pair bars with a dollop of whipped cream or a scoop of vanilla ice cream for contrast. Garnish with toasted coconut flakes or a light dusting of cocoa for a refined look. These bars work well on dessert platters alongside lemon bars and shortbread, and they’re a festive option for bake sales when cut into smaller squares.
Cultural Background
Chocolate and coconut pairings are popular in many baking traditions, from European chocolate bakes to tropical coconut desserts. The idea of a cake base with a coconut topping echoes classics like German kokosmakronen and American coconut bars, blending chewy and tender textures. This version simplifies the technique into an accessible bar format that borrows the sweetness and texture cues common in coastal baking traditions, where coconut is often used to add both flavor and body.
Seasonal Adaptations
In winter, swap the pink tint for a dusting of powdered sugar and a few grated orange zest for brightness. Spring calls for pastel food coloring and edible flowers for a shower. For summer, add fresh raspberries on top of the coconut before it sets for a fruity contrast. Holidays are an opportunity for festive sprinkles or a drizzle of salted caramel to introduce a richer, seasonal flavor profile.
Meal Prep Tips
For make-ahead dessert trays, bake the base and prepare the topping on the day before assembly. Store the cool cake in the pan wrapped tightly with plastic wrap; spread the topping the morning of your event to ensure the freshest texture. Cut into bars using a sharp knife wiped clean between cuts for neat edges. Use shallow, stackable containers for transport and keep chilled until serving to preserve the topping stability.
These bars are simple, adaptable, and memorable — the pink coconut snow makes a humble chocolate square feel like an occasion. Try them once, and you’ll likely find yourself tweaking the colors and finishes for every gathering that follows.
Enjoy sharing these at your next get-together; they always bring smiles and quick requests for the recipe.
Pro Tips
Use room-temperature eggs for a smoother, more cohesive batter and better rise.
If the coconut topping is too runny, chill it 10 to 15 minutes before spreading to thicken slightly.
Measure flour with the spoon-and-level method to avoid a dry, dense base.
For even baking, place the pan on the middle rack and rotate once halfway through the timer.
This nourishing pink coconut snowball cake bars recipe is sure to be a staple in your kitchen. Enjoy every moist, high protein slice — it is perfect for breakfast or as a wholesome snack any time.
Tags
Pink Coconut Snowball Cake Bars
This Pink Coconut Snowball Cake Bars recipe makes perfectly juicy, tender, and flavorful steak every time! Serve with potatoes and a side salad for an unforgettable dinner in under 30 minutes.
Ingredients
Cake
Coconut Topping
Instructions
Preheat and Prepare
Preheat the oven to 350°F (175°C). Grease an 8x8 inch pan or line with parchment. Preheating ensures even rise and consistent baking.
Mix Dry Ingredients
Whisk together flour, sugar, cocoa powder, baking powder, and salt in a medium bowl until well combined and lump-free.
Combine Wet Ingredients
Whisk melted butter, eggs, and vanilla in a separate bowl until smooth. Allow the butter to cool slightly before combining to avoid scrambling the eggs.
Bring Batter Together
Fold wet into dry just until combined. Avoid overmixing to keep the crumb tender. Batter should be thick and spreadable.
Bake
Spread batter in the prepared pan and bake 20 to 25 minutes, until a toothpick comes out with a few moist crumbs. Cool completely in the pan on a wire rack.
Prepare Topping and Finish
Mix shredded coconut with powdered sugar and 1 to 2 tablespoons milk until spreadable. Tint with food coloring if desired, spread over cooled cake, chill briefly if needed, then cut into 12 bars.
Last Step: Please leave a rating and comment letting us know how you liked this recipe! This helps our business to thrive and continue providing free, high-quality recipes for you.
Nutrition
Did You Make This?
Leave a comment & rating below or tag
@snapyrecipe on social media!
Categories:
You might also like...
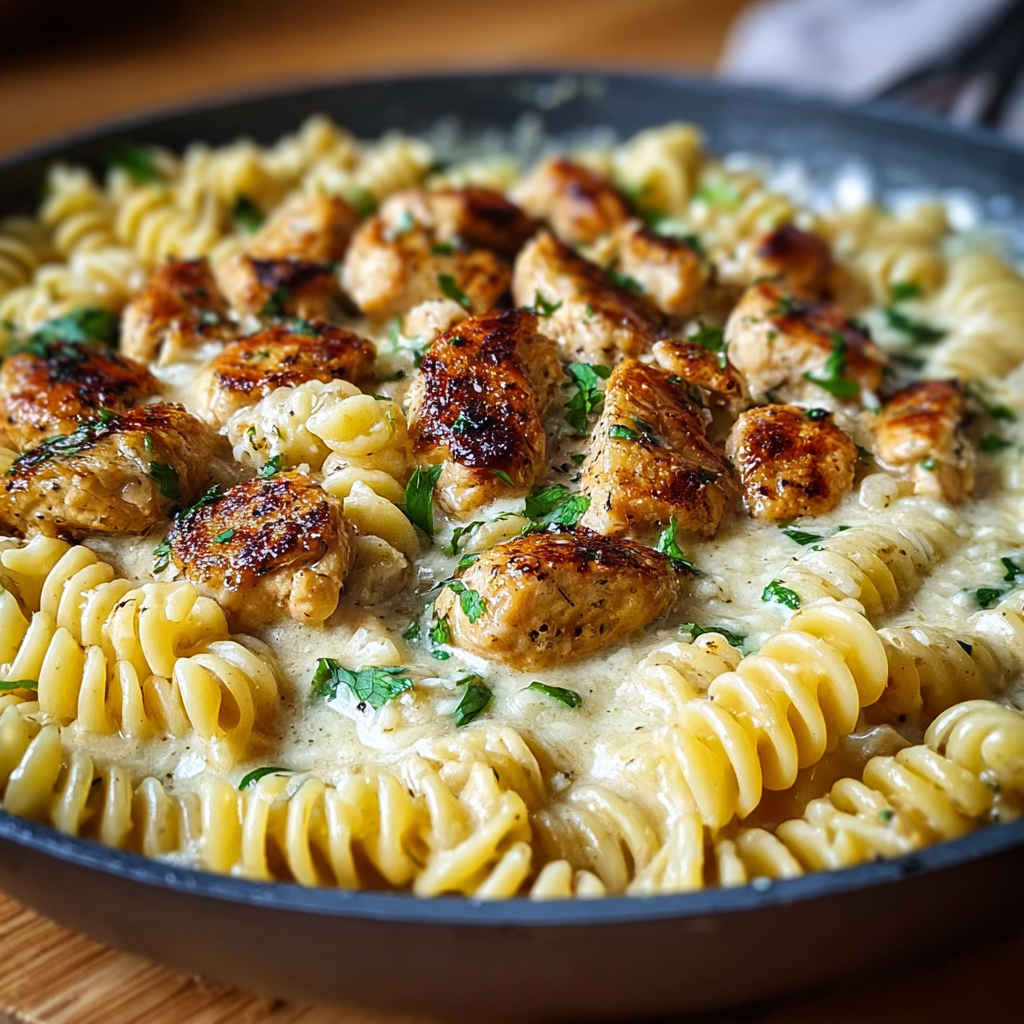
Creamy Garlic Butter Chicken & Rotini in Parmesan Sauce
Golden-browned chicken tossed with rotini in a silky garlic Parmesan sauce—comforting, quick, and perfect for weeknight dinners.
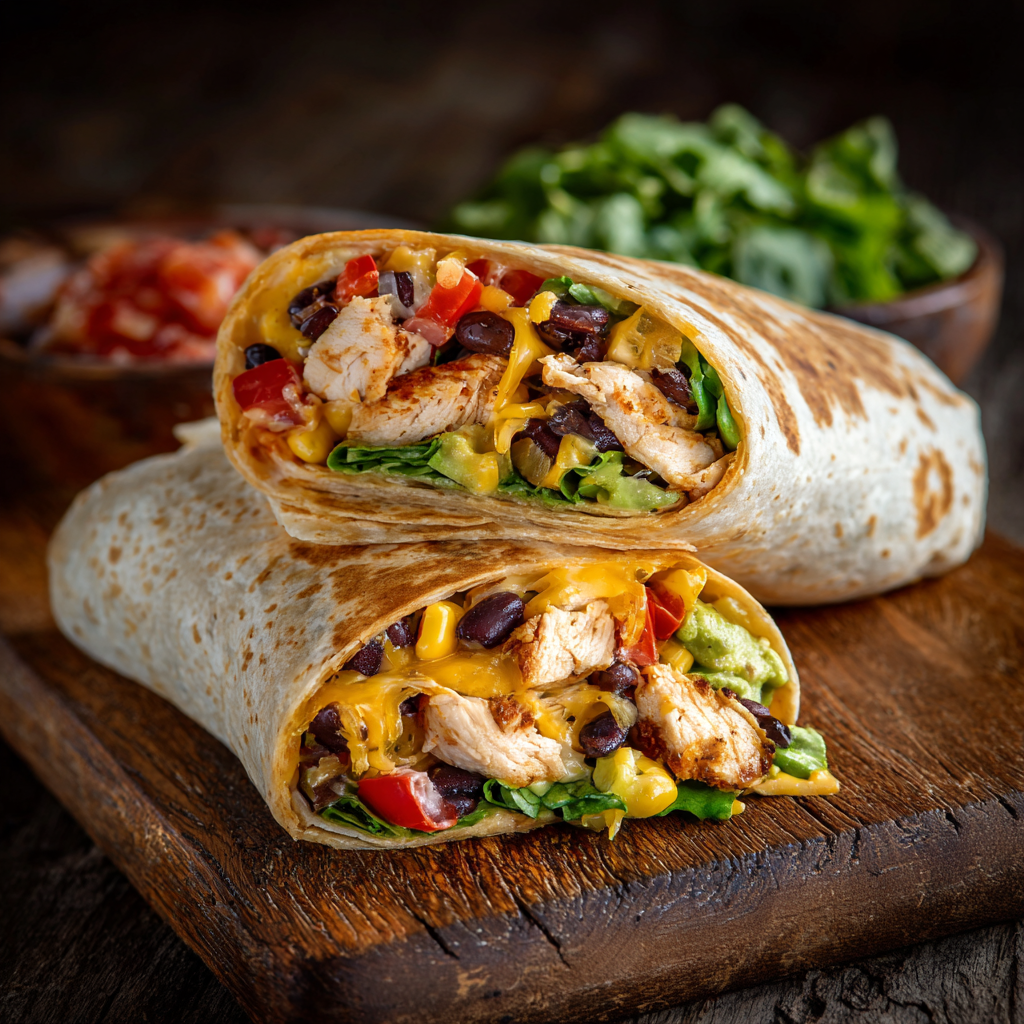
Southwest Chicken Wrap
A vibrant, smoky Southwest chicken wrap loaded with rice, beans, corn, and a creamy chipotle-lime sauce — perfect for lunch, meal prep, or an easy weeknight.

Classic Apple Crumble
A timeless apple crumble with a buttery, cinnamon-scented topping and tart-sweet Granny Smith filling — perfect warm with vanilla ice cream.
Did You Make This?
Leave a comment & rating below or tag @snapyrecipe on social media!
Rate This Recipe
Share This Recipe
Enjoyed this recipe? Share it with friends and family, and don't forget to leave a review!
Comments (1)
This recipe looks amazing! Can't wait to try it.
Comments are stored locally in your browser. Server comments are displayed alongside your local comments.
Hi, I'm Natalia!
What's Popular
Get My 30-Minute Meals email series!
Quick and easy dinner ideas delivered to your inbox.