
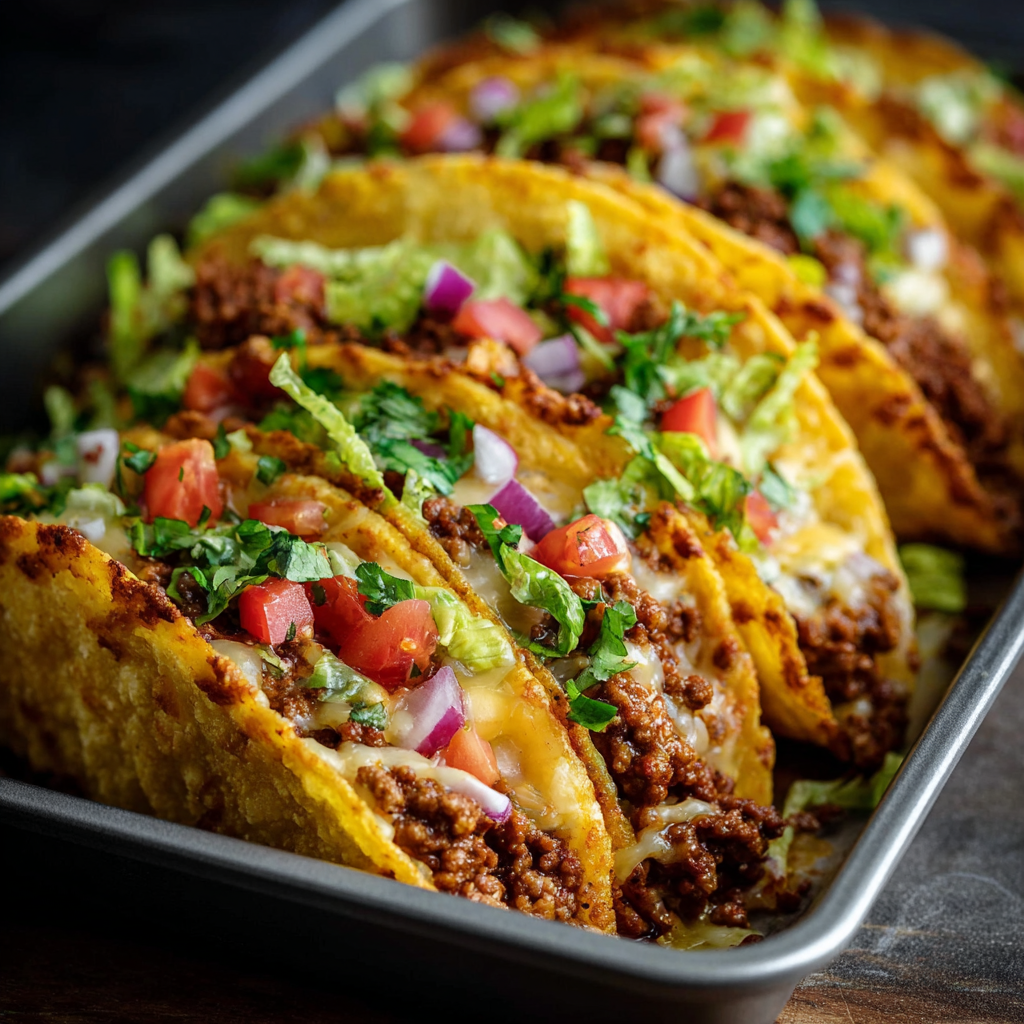
Oven-Baked Cheesy Tacos

Crispy hard shells filled with seasoned beef and melted cheese, finished with fresh toppings—an easy, crowd-pleasing weeknight favorite.

This recipe came into my life on a busy weeknight when I needed something fast, satisfying, and kid-approved. I remember pulling a package of hard taco shells from the pantry, a pound of ground beef in the fridge, and improvising a way to get melty cheese inside the shells without sogging them down. The result—crispy shells, a bright beef filling, and gooey cheese—was instant comfort. It’s become our go-to for game nights, casual family dinners, and any time we want the fun of tacos with minimal fuss.
I first tested this approach when hosting friends and needed food that could be assembled ahead, popped in the oven, and served hot. What stands out is the contrast of textures: the crunchy shell, the slightly saucy but not runny filling, and the fresh, cool toppings on top. Every bite gives you savory beef, warm melted cheese, and the brightness of lettuce and tomatoes. It’s simple enough for weeknights and versatile enough to dress up for a party.
Why You'll Love This Recipe
- Ready in under 35 minutes from start to finish—perfect for busy weeknights and last-minute dinners.
- Uses pantry staples and common fridge items (ground beef, taco seasoning, hard shells), so you rarely need a special trip to the store.
- Bakes upright in a single dish, which crisps the shells and melts the cheese evenly—no flipping or messy broiling required.
- Makes 8 sturdy tacos that are easy to portion for a family of four or to serve at casual gatherings.
- Plenty of make-ahead flexibility: cook the filling a day ahead, assemble just before baking, or bake and reheat for convenience.
- Crowd-pleasing flavors with room to adjust spice level and toppings for kids or adults.
In my home, these tacos consistently spark happy noises around the table—my husband loves the crisp edges of the shells, while the kids fight over jalapeño slices and extra cheese. I appreciate how forgiving the method is: a small timing tweak in the oven still gives excellent results, and leftovers reheat beautifully.
Ingredients
- 1 lb ground beef: Choose 80/20 for juicier filling or 90/10 for leaner result. I often pick a local butcher’s beef for a fresher flavor—brown it well to develop deep, savory notes.
- 1 small onion, finely diced: Yellow or white onion provides sweet savory base; dice uniformly so it cooks evenly with the beef.
- 2 cloves garlic, minced: Fresh garlic gives a fragrant lift—add when beef is mostly cooked to avoid burning.
- 1 packet taco seasoning (or homemade mix): A 1.25 oz packet works well; homemade mix allows sodium control (cumin, chili powder, paprika, salt).
- 2/3 cup tomato sauce or salsa: Use a smooth tomato sauce for milder tang or a chunky salsa for more texture and spice.
- 8 hard taco shells: Corn or flour-based hard shells both work; corn shells are naturally gluten-free if you need that option.
- 2 cups shredded cheese: Cheddar, Monterey Jack, or a Mexican blend—shred your own for best melting and flavor.
- Fresh toppings: 1 cup shredded lettuce, 1/2 cup diced tomatoes, 1/4 cup diced red onion, 2 tbsp chopped cilantro (optional).
- Optional garnishes: Sour cream, guacamole, jalapeño slices, and hot sauce for those who want extra heat or creaminess.
Instructions
Preheat oven and arrange shells: Preheat the oven to 400°F (200°C). Arrange the 8 hard taco shells upright in a baking dish so they sit snugly and won’t tip over during baking. Use a 9x13-inch dish for a tidy fit; if shells wobble, tuck a folded piece of foil between them to stabilize. Cook the beef and aromatics: Heat a large skillet over medium heat. Add the ground beef and diced onion; cook, breaking the meat apart with a spatula, until browned and onions are translucent, about 6–8 minutes. Drain any excess fat to keep the shells from becoming greasy. Add garlic, seasoning, and sauce: Return the skillet to medium heat, add the minced garlic and taco seasoning, and cook for about 30–60 seconds until fragrant. Pour in 2/3 cup tomato sauce or salsa, stir, and simmer gently for 4–5 minutes so flavors meld and the mixture thickens slightly—this prevents soggy shells later. Fill shells and add cheese: Spoon the seasoned beef evenly into the prepared shells, packing each one generously but leaving space at the top for cheese and toppings. Sprinkle about 1/4 to 1/3 cup shredded cheese per shell so each taco has a melty, golden top. Bake until cheese is melted: Place the baking dish in the preheated oven and bake for 10–15 minutes. Watch for the cheese to fully melt and start bubbling with small golden spots; shells should be crisp and warm. If you prefer extra browning, switch to broil for 30–60 seconds—monitor closely to avoid burning. Top and serve: Remove from oven, top with shredded lettuce, diced tomatoes, red onion, and cilantro. Add dollops of sour cream, guacamole, jalapeños, and hot sauce as desired. Serve immediately while shells are at their crispiest.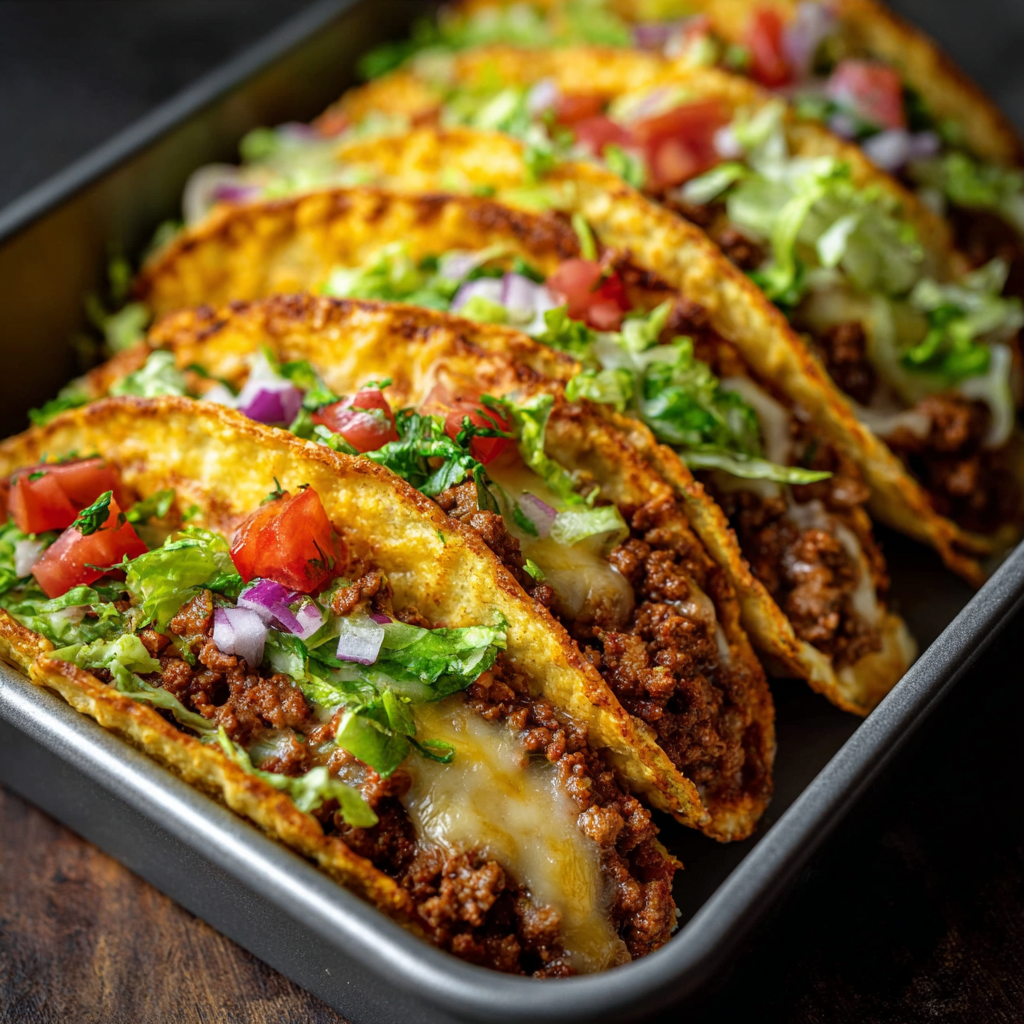
You Must Know
- This makes 8 hard tacos—ideal for a family of four when served two tacos per person or great for sharing at small gatherings.
- Store cooked filling separately from shells; assembled and baked tacos are best eaten immediately to retain crispness.
- Freezes well: cooked beef mixture freezes for up to 3 months; thaw overnight in the refrigerator before reheating.
- High in protein; calorie estimates vary depending on cheese and shell choice—opt for low-fat cheese for fewer calories.
What I love most about this method is how reliably it produces a balance of crunchy and gooey textures. At a recent potluck I made a double batch and folks commented on how the shells stayed crisp even after a short time out—which is a rare win when serving saucy fillings.
Storage Tips
To keep leftovers tasting fresh, store components separately: place any leftover filling in an airtight container and refrigerate for up to 3–4 days. Keep unused hard shells in an airtight bag at room temperature to maintain crunch. For longer storage, freeze the cooled filling in labeled freezer-safe containers for up to 3 months. When reheating, warm the filling in a skillet over medium-low heat with a splash of water to loosen it, then reassemble and briefly bake (5–7 minutes at 350°F) to refresh the cheese and crunch.
Ingredient Substitutions
Swap ground beef for ground turkey or chicken for a leaner profile—use the same quantities and slightly reduce simmering time. For a vegetarian option, use seasoned cooked lentils or a plant-based crumbled meat alternative; increase the seasoning slightly and add a splash of tomato sauce to mimic juiciness. Corn hard shells are an easy gluten-free swap; if you choose soft tortillas, crisp them in a skillet or oven first to keep textures distinct. Adjust cheese types to taste—pepper Jack adds heat while a mild Monterey Jack keeps it kid-friendly.
Serving Suggestions
Serve these tacos with simple sides that complement their bold flavors: cilantro-lime rice, black beans, or a quick corn and avocado salad. A squeeze of fresh lime brightens the whole plate, and pickled red onions add crunch and acidity. For a casual spread, provide bowls of shredded lettuce, chopped tomatoes, diced onions, jalapeños, and sauces so guests can customize. Garnish with extra cilantro leaves and a wedge of lime for a finished look.
Cultural Background
Tacos are a cornerstone of Mexican street food, traditionally built with soft corn tortillas and a wide range of fillings. The oven-baked hard-shell version reflects an Americanized approach that emphasizes convenience and crowd-pleasing presentation. While not a traditional preparation, it borrows flavors—cumin, chili, fresh cilantro—from Mexican cuisine and adapts them to home-cooking habits, creating a hybrid dish that’s familiar, fast, and widely loved across households.
Seasonal Adaptations
In summer, highlight fresh produce—grill corn and add kernels, use ripe tomatoes or pico de gallo, and add a mango salsa for sweetness. In winter, swap toppings for roasted peppers and caramelized onions, and try a spicier sauce to warm things up. Holiday gatherings benefit from batching the filling and setting up a taco bar so guests can assemble their own, or scale the recipe up easily to feed a crowd by doubling ingredients and using cupcake tins to keep shells upright in the oven.
Meal Prep Tips
Make the seasoned beef a day or two ahead and store it chilled; reheat in a skillet with a tablespoon of water to loosen. Pre-shred cheese and keep toppings washed and chopped in airtight containers for quick assembly. If packing for lunches, fill soft tortillas with the reheated mixture and wrap; for crispy shells, pack filling and shells separately and assemble at mealtime. Use clear, stackable containers so you can see portions at a glance when prepping for the week.
These oven-baked cheesy tacos are a dependable favorite—versatile, fast, and easy to scale. Whether you’re feeding a family, prepping for a party, or looking for a comforting solo dinner, they deliver bright, satisfying flavors with minimal effort. Make them your own with favorite toppings and enjoy the smiles they bring around the table.
Pro Tips
Cook the beef until nicely browned to build flavor—don’t rush the browning step.
Drain excess fat from the skillet so the shells remain crisp and not greasy.
Stabilize shells with foil if they wobble in the baking dish to prevent tipping.
Shred cheese yourself for better melt and texture compared to pre-shredded blends.
This nourishing oven-baked cheesy tacos recipe is sure to be a staple in your kitchen. Enjoy every moist, high protein slice — it is perfect for breakfast or as a wholesome snack any time.
Tags
Oven-Baked Cheesy Tacos
This Oven-Baked Cheesy Tacos recipe makes perfectly juicy, tender, and flavorful steak every time! Serve with potatoes and a side salad for an unforgettable dinner in under 30 minutes.
Ingredients
Filling
Shells & Cheese
Toppings
Instructions
Preheat oven and arrange shells
Preheat oven to 400°F (200°C). Arrange taco shells upright in a baking dish so they sit snugly and won’t tip during baking.
Cook beef mixture
In a skillet over medium heat, cook ground beef and diced onion until beef is browned and onions are translucent, about 6–8 minutes. Drain excess fat.
Add garlic, seasoning, and sauce
Add minced garlic and taco seasoning to the skillet and cook for 30–60 seconds until fragrant. Pour in 2/3 cup tomato sauce or salsa and simmer 4–5 minutes to thicken slightly.
Assemble tacos and add cheese
Spoon the seasoned beef into the shells evenly and sprinkle each with shredded cheese (about 1/4–1/3 cup per shell).
Bake until melted and crisp
Bake in preheated oven for 10–15 minutes until cheese is melted and shells are crisp and golden. For extra browning, briefly broil for 30–60 seconds, watching carefully.
Top and serve
Remove from oven and top with lettuce, tomatoes, red onion, cilantro, and optional garnishes like sour cream or guacamole. Serve immediately.
Last Step: Please leave a rating and comment letting us know how you liked this recipe! This helps our business to thrive and continue providing free, high-quality recipes for you.
Nutrition
Did You Make This?
Leave a comment & rating below or tag
@snapyrecipe on social media!
Categories:
You might also like...
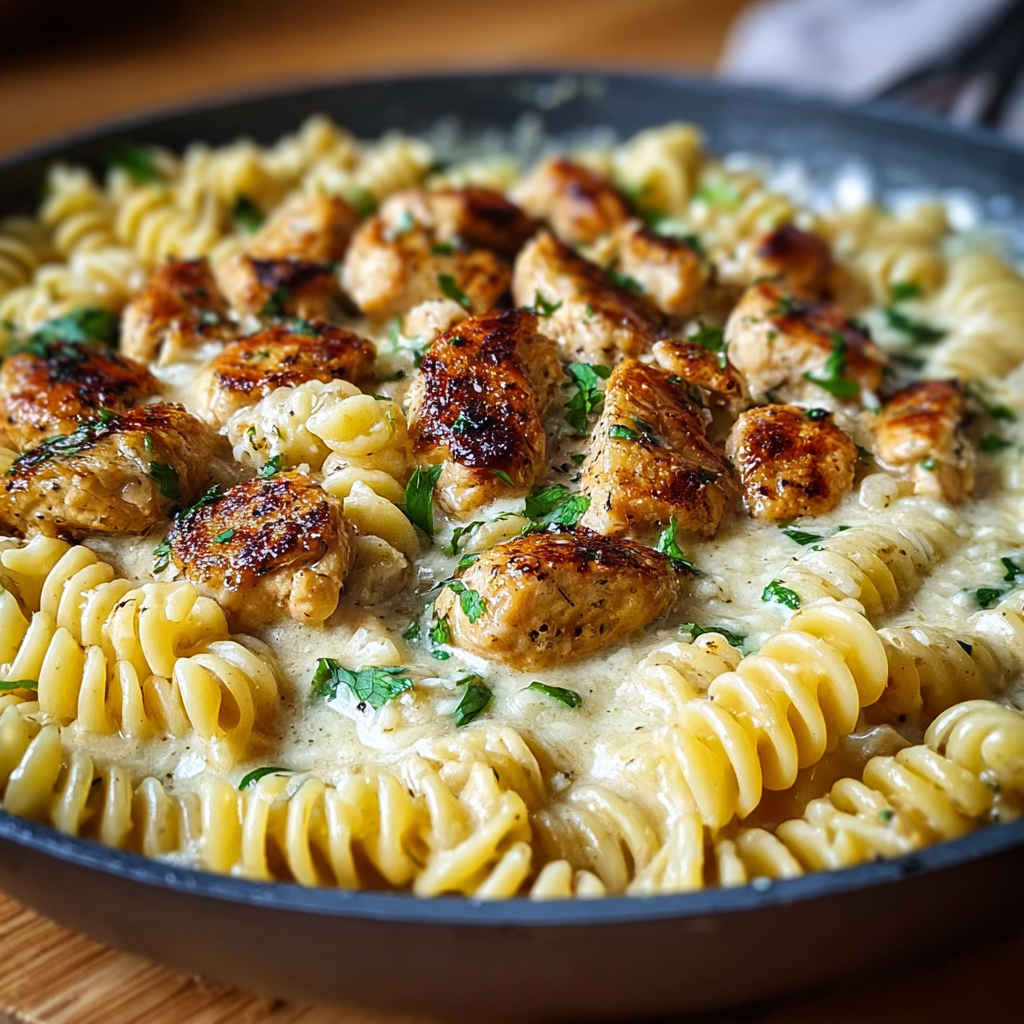
Creamy Garlic Butter Chicken & Rotini in Parmesan Sauce
Golden-browned chicken tossed with rotini in a silky garlic Parmesan sauce—comforting, quick, and perfect for weeknight dinners.
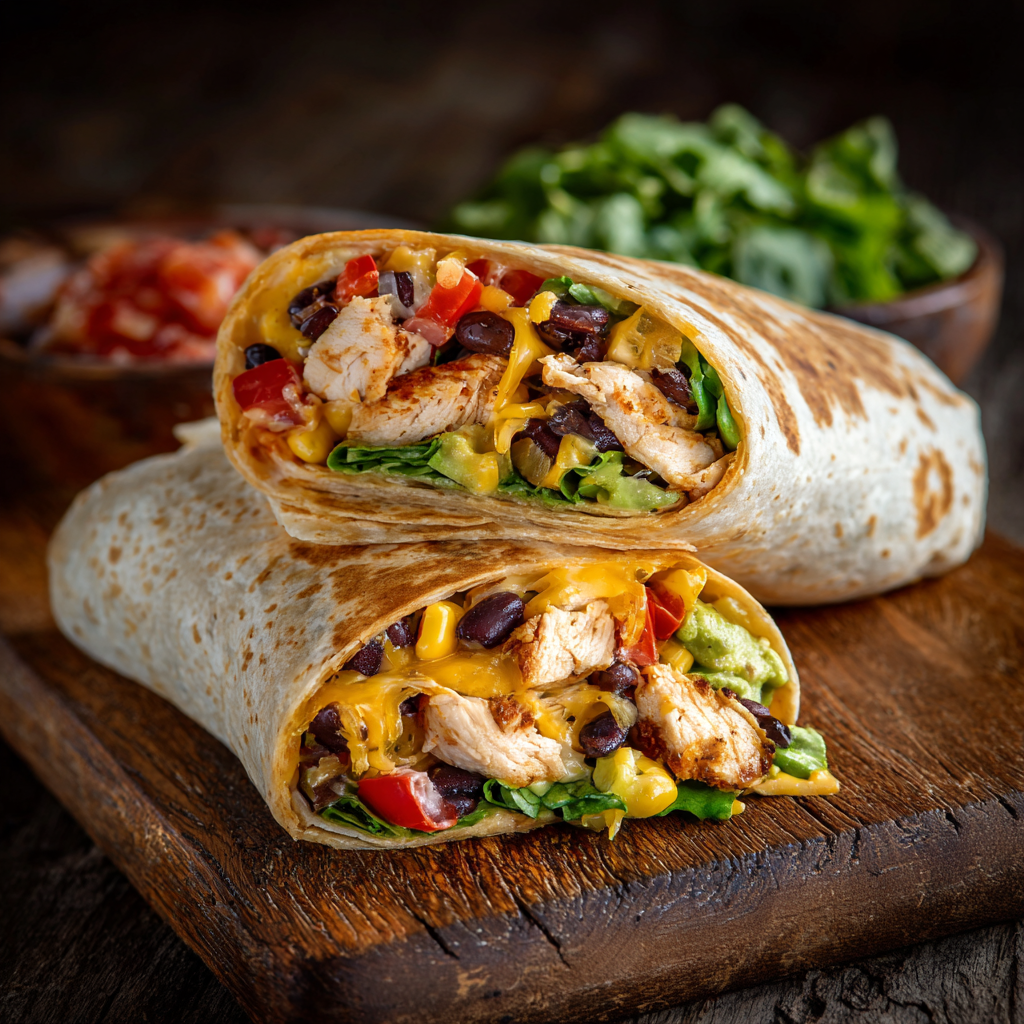
Southwest Chicken Wrap
A vibrant, smoky Southwest chicken wrap loaded with rice, beans, corn, and a creamy chipotle-lime sauce — perfect for lunch, meal prep, or an easy weeknight.

Classic Apple Crumble
A timeless apple crumble with a buttery, cinnamon-scented topping and tart-sweet Granny Smith filling — perfect warm with vanilla ice cream.
Did You Make This?
Leave a comment & rating below or tag @snapyrecipe on social media!
Rate This Recipe
Share This Recipe
Enjoyed this recipe? Share it with friends and family, and don't forget to leave a review!
Comments (1)
This recipe looks amazing! Can't wait to try it.
Comments are stored locally in your browser. Server comments are displayed alongside your local comments.
Hi, I'm Natalia!
What's Popular
Get My 30-Minute Meals email series!
Quick and easy dinner ideas delivered to your inbox.