
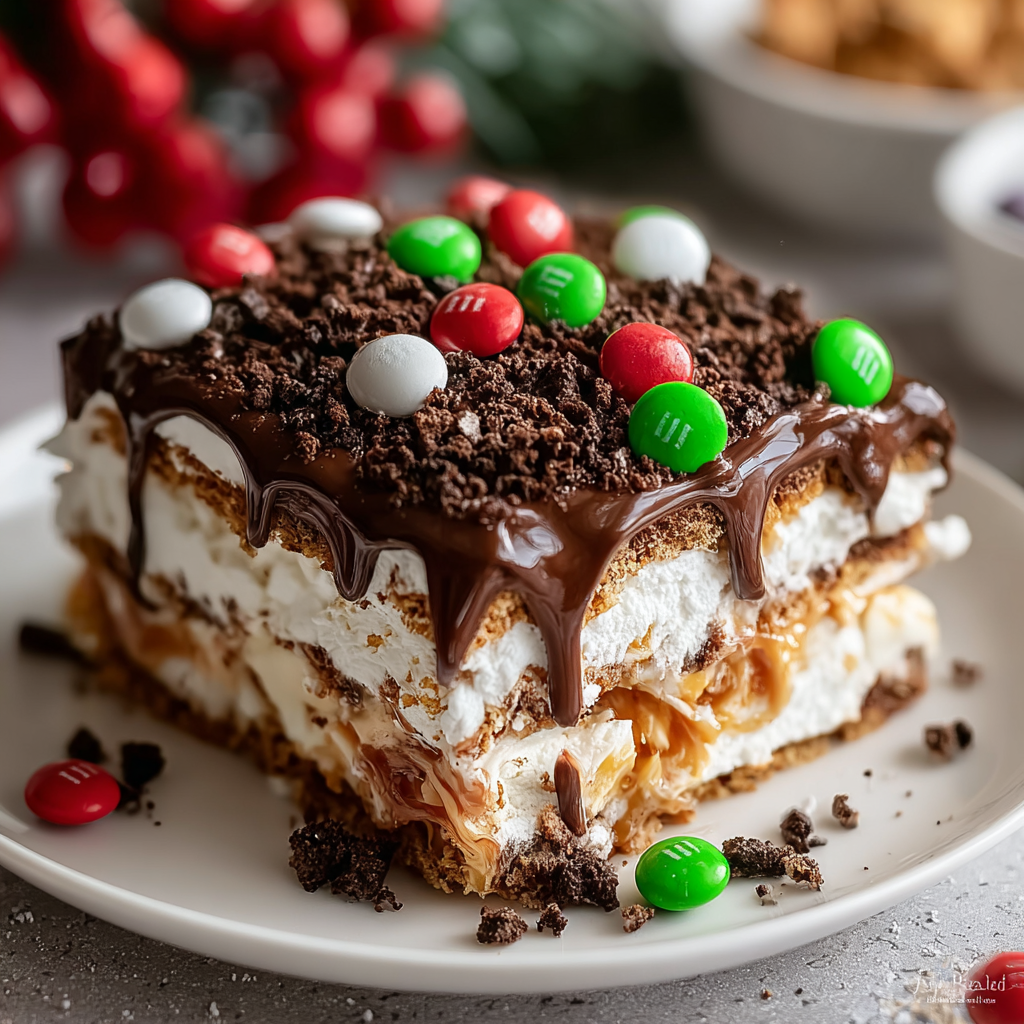
No-Bake Cookie Lasagna

Layers of Oreo crust, creamy sweetened cream cheese, chocolate and vanilla pudding, and clouds of whipped topping finished with festive candies — a no-bake holiday favorite.
This no-bake cookie lasagna is my go-to dessert when the calendar fills up with holiday parties, school events, and last-minute guests. I stumbled upon this layered treat years ago at a cookie exchange where someone brought a version with store-bought crumbs and instant pudding. I immediately started experimenting: more cream cheese, a sturdier crust, and double puddings to balance sweetness. The result is a dessert that looks elaborate but comes together quickly, and it has become the festive centerpiece everyone asks me to bring.
What makes this dish special is the contrast between textures and familiar flavors — a crisp chocolate cookie base, a tangy creamy layer, silky chocolate pudding, and gentle vanilla cushion, all capped with clouds of whipped topping. Each spoonful delivers crunchy, creamy, and smooth notes and the colorful sprinkles and mini candies make it feel celebratory. It’s an ideal make-ahead choice: assemble the night before, chill, and slice into neat squares that hold their layers beautifully.
Why You'll Love This Recipe
- Fast assembly: ready in about 25 minutes of active time and needs at least 4 hours of chilling — perfect for busy hosts.
- Pantry-friendly: uses instant pudding mixes and sandwich cookies commonly found in most grocery stores.
- Kid-approved and crowd-pleasing: the mix of chocolate, vanilla, and festive candies appeals to adults and children alike.
- Make-ahead friendly: improves after a night in the fridge so you can prepare the day before entertaining.
- Flexible garnish: swap sprinkles for seasonal candies to match holidays, birthdays, or themed parties.
- No oven required: excellent when the oven is needed for main dishes or during hot weather.
I first served this to our extended family at a winter potluck and watched the tray disappear within an hour. My niece declared it a “party in a pan” and my father, usually a reserved dessert critic, asked for the recipe. Over the years I’ve fine-tuned the proportions to keep the layers even and stable, and the technique now reliably produces neat slices that showcase each layer.
Ingredients
- Crust — 36 Oreo sandwich cookies: Use regular Oreos (not double stuff) for the best balance of chocolate flavor and structure. Crush them finely in a food processor or sealed bag to make a compact base.
- Butter — 1/2 cup (1 stick) unsalted, melted: Melted butter binds the cookie crumbs into a pressable crust; use unsalted so you can control overall sweetness and salt level.
- Cream layer — 8 oz cream cheese: Full-fat cream cheese (softened at room temperature) gives the layer richness and a slight tang that cuts through sweetness.
- Sugar — 1/4 cup granulated: Adds light sweetness to the cream cheese without overpowering the puddings; superfine is easiest to blend.
- Milk — 2 tablespoons: Adds looseness to the cream cheese for easy spreading; use whole milk for best creaminess.
- Vanilla — 1 teaspoon pure extract: A small amount elevates the cream layer and complements the vanilla pudding.
- Whipped topping — 3 cups thawed total: I use store-bought whipped topping for stability; reserve 1 1/2 cups for the cream layer and 1 1/2 cups for finishing the top.
- Pudding mixes — 1 box chocolate instant (3.4 oz) and 1 box vanilla instant (3.4 oz): Use two separate bowls and whisk with 1 1/2 cups cold milk each for optimal set and texture.
- Milk for puddings — 3 cups cold total: Divide 1 1/2 cups per pudding mix; cold milk helps the instant pudding thicken correctly.
- Topping — sprinkles and mini M&Ms: Choose holiday-themed sprinkles and small candies for color and crunch; adjust to taste.

Instructions
Prepare the crust: Crush 36 Oreo sandwich cookies to fine crumbs using a food processor or a heavy rolling pin inside a sealed plastic bag. Combine crumbs with 1/2 cup melted unsalted butter until the mixture holds together when pressed. Firmly press the mixture into the bottom of a 9x13-inch pan using the bottom of a measuring cup for an even, compact base. Chill 10 to 15 minutes to set. Make the cream layer: Beat 8 ounces softened cream cheese with 1/4 cup granulated sugar, 2 tablespoons milk, and 1 teaspoon vanilla extract until smooth and free of lumps. Folding in 1 1/2 cups thawed whipped topping lightens the texture and makes the layer easier to spread. Spread this layer evenly over the chilled crust; smooth with an offset spatula for a level surface. Prepare the puddings: In two separate bowls whisk each instant pudding mix with 1 1/2 cups cold milk. Vigorously whisk each for about 2 minutes, then let them sit 3 to 5 minutes until thickened but still spoonable. The chocolate pudding will be slightly denser; use a silicone spatula to check consistency. Layer the puddings: Spoon the chocolate pudding gently over the cream-cheese layer and smooth with a spatula without disturbing the layer beneath. Add the vanilla pudding layer next and level the surface. Work carefully and in small spoonfuls to maintain clean layers and prevent mixing at the edges. Top and chill: Spread the remaining 1 1/2 cups whipped topping evenly over the vanilla pudding. Decorate with Christmas sprinkles and mini M&Ms or other seasonal candies. Cover the pan and chill at least 4 hours or ideally overnight so the layers set for clean slicing.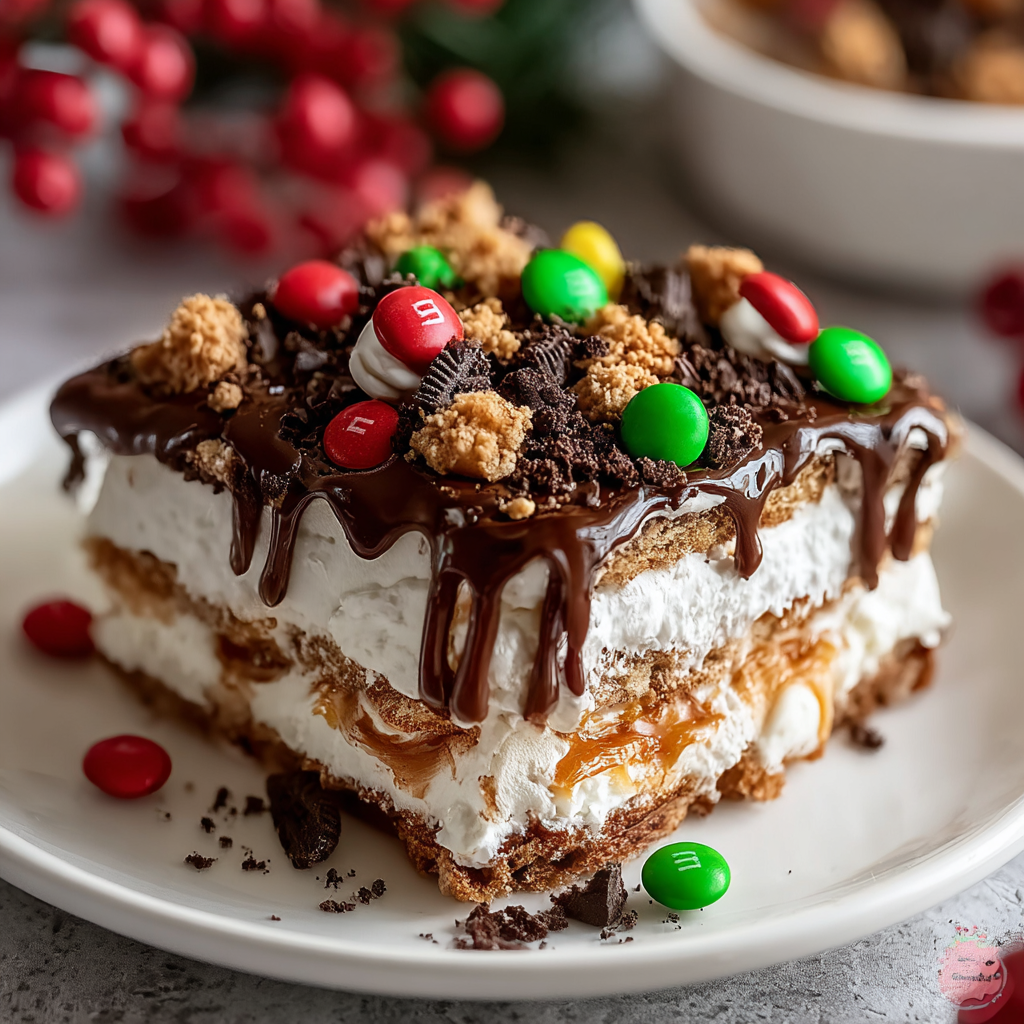
You Must Know
- This dish is best chilled at least 4 hours or overnight; it freezes well for up to 3 months if wrapped tightly and thawed slowly in the refrigerator.
- High in dairy and sugars — great for celebrations but not a low-carb or dairy-free option without swaps.
- Store leftovers in an airtight container in the refrigerator for 3 to 4 days; the crust will soften over time but slices remain flavorful.
- Instant pudding thickens quickly; assemble layers while pudding is still spoonable for smooth spreading.
I love how this tray brings people together. At a neighborhood cookie swap, guests always comment on the neat layers and the nostalgic flavors. I’ve learned that a perfectly pressed crust and soft but not runny cream layer are the small details that make it feel homemade and special.
Storage Tips
Keep the pan covered with plastic wrap or a tight-fitting lid to prevent absorption of fridge odors and preserve moisture. Refrigerated leftovers will keep for 3 to 4 days; note the crust will soften progressively as it absorbs moisture from the pudding layers. For longer storage, slice into individual portions, wrap each square tightly in plastic wrap, and freeze them in a zip-top bag for up to 3 months. Thaw overnight in the refrigerator; avoid microwaving frozen slices as the texture will become soggy.
Ingredient Substitutions
For a gluten-free version use certified gluten-free chocolate sandwich cookies for the crust. Replace cream cheese with a dairy-free cream cheese and use coconut-based whipped topping to make a dairy-free alternative, though the flavor and texture will be slightly different. For lower sugar, choose sugar-free instant pudding mixes and reduce the sugar in the cream layer, keeping in mind these swaps can affect set time and mouthfeel. Use homemade whipped cream instead of whipped topping for a fresher taste, but it may not hold up as well overnight.
Serving Suggestions
Serve chilled in neat squares garnished with additional candies or a dusting of cocoa for a refined touch. Plate with simple accompaniments like fresh berries or a small mint sprig to cut through sweetness. This tray works beautifully at potlucks, office parties, or holiday buffets — it’s easy to portion and appeals to a wide range of guests. For a grown-up version, add a drizzle of espresso-infused chocolate sauce to each square just before serving.
Seasonal Adaptations
Change the garnish to fit the season: red and green sprinkles with mini chocolate candies for Christmas, pastel candies and edible flowers for spring celebrations, or orange and black pearls for Halloween. Swap the vanilla pudding for peppermint-flavored instant pudding during winter for a festive twist. Add a layer of crushed candy canes between the pudding and whipped topping for a crunchy, minty surprise.
Meal Prep Tips
Assemble the crust and cream layer the day before serving to save time. Prepare puddings just before layering so they are freshly thickened and easier to spread. Transport the pan in a cooler with ice packs if serving off-site to keep the layers firm. If you need to slice clean squares, run a sharp knife under hot water, dry it, and then slice in a single motion — wipe the knife between cuts for the best presentation.
Success Stories
At a recent holiday brunch, I brought two pans — one classic and one peppermint — and neighbors returned offering to swap recipes. A friend whose children are notoriously picky commented that this was one dessert they all enjoyed, and another guest suggested using different cookie brands for a chocolate-buttercream twist. These small experiments over time have helped refine the proportions and the assembly method I use now.
Whether you’re making this for family gatherings, a class party, or a festive potluck, this layered, no-bake tray is forgiving, visually appealing, and reliably delicious. Give it a try and tweak the garnishes to make it your own — the core technique stays the same and the reactions make the effort worthwhile.
Pro Tips
Press the crust firmly and evenly using the bottom of a measuring cup to ensure stability.
Whisk the instant puddings vigorously and let them set 3–5 minutes before layering to avoid runny layers.
Use a hot, dry knife wiped between cuts for clean, attractive slices.
Chill overnight for the cleanest slices and best flavor melding.
This nourishing no-bake cookie lasagna recipe is sure to be a staple in your kitchen. Enjoy every moist, high protein slice — it is perfect for breakfast or as a wholesome snack any time.
FAQs about Recipes
How long should I chill the dessert?
Assemble and chill at least 4 hours; overnight is best for clean slices.
Can I freeze leftovers?
Yes—freeze individual portions wrapped tightly for up to 3 months and thaw in the refrigerator.
Tags
No-Bake Cookie Lasagna
This No-Bake Cookie Lasagna recipe makes perfectly juicy, tender, and flavorful steak every time! Serve with potatoes and a side salad for an unforgettable dinner in under 30 minutes.
Ingredients
Crust
Cream layer
Pudding layers
Topping
Instructions
Prepare the crust
Crush 36 Oreo sandwich cookies to fine crumbs and combine with 1/2 cup melted unsalted butter. Press into the bottom of a 9x13-inch pan and chill 10–15 minutes to set.
Make the cream layer
Beat 8 oz softened cream cheese with 1/4 cup sugar, 2 tablespoons milk, and 1 teaspoon vanilla until smooth. Fold in 1 1/2 cups thawed whipped topping and spread evenly over the chilled crust.
Prepare the puddings
Whisk each instant pudding mix with 1 1/2 cups cold milk in separate bowls and let stand 3–5 minutes until thickened but still spoonable.
Layer the puddings
Spoon the chocolate pudding over the cream-cheese layer and smooth gently, then add the vanilla pudding and level the surface carefully to maintain distinct layers.
Top and chill
Spread remaining 1 1/2 cups whipped topping on the vanilla layer, decorate with sprinkles and mini candies, then cover and chill at least 4 hours or overnight.
Last Step: Please leave a rating and comment letting us know how you liked this recipe! This helps our business to thrive and continue providing free, high-quality recipes for you.
Nutrition
Did You Make This?
Leave a comment & rating below or tag
@snapyrecipe on social media!
Categories:
You might also like...
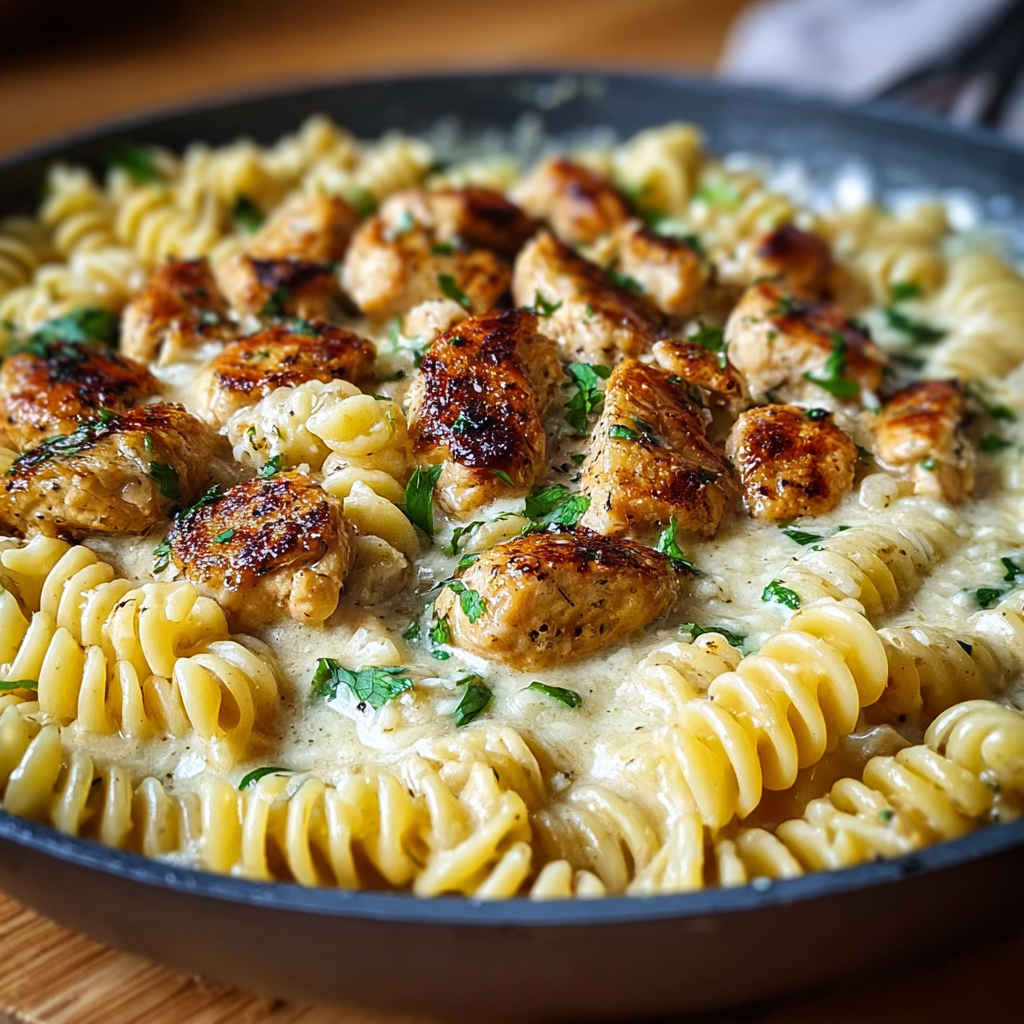
Creamy Garlic Butter Chicken & Rotini in Parmesan Sauce
Golden-browned chicken tossed with rotini in a silky garlic Parmesan sauce—comforting, quick, and perfect for weeknight dinners.
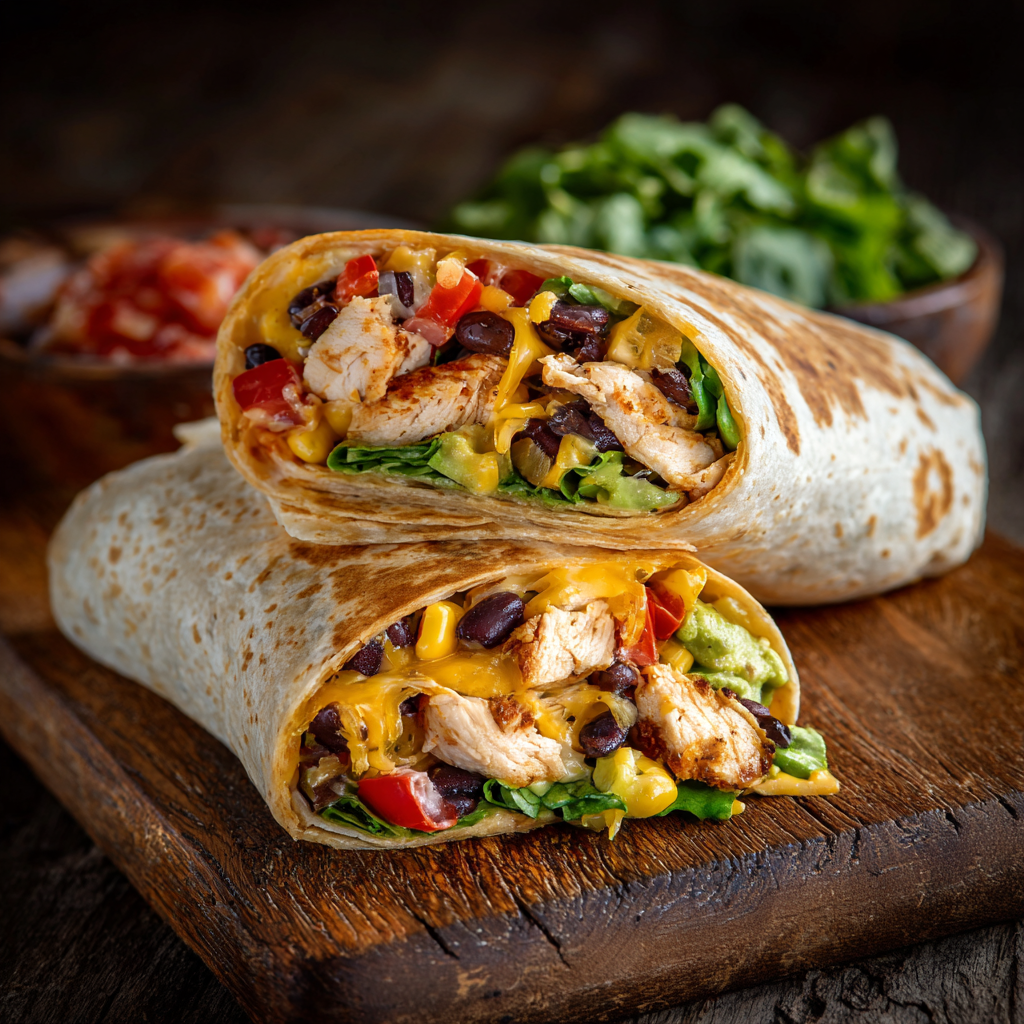
Southwest Chicken Wrap
A vibrant, smoky Southwest chicken wrap loaded with rice, beans, corn, and a creamy chipotle-lime sauce — perfect for lunch, meal prep, or an easy weeknight.

Classic Apple Crumble
A timeless apple crumble with a buttery, cinnamon-scented topping and tart-sweet Granny Smith filling — perfect warm with vanilla ice cream.
Did You Make This?
Leave a comment & rating below or tag @snapyrecipe on social media!
Rate This Recipe
Share This Recipe
Enjoyed this recipe? Share it with friends and family, and don't forget to leave a review!
Comments (1)
This recipe looks amazing! Can't wait to try it.
Comments are stored locally in your browser. Server comments are displayed alongside your local comments.
Hi, I'm Natalia!
What's Popular
Get My 30-Minute Meals email series!
Quick and easy dinner ideas delivered to your inbox.